Tesla Roadser Mods
Tesla Tattler 2008 Roadster Install
From the index page, click on a photo to get a larger version with comments below the photo. I'm posting this to help other owners who may wish to attempt the same install, but it's a non-trivial task with some risk of breaking things you probably don't want to break. Proceed at your own risk. I assume no reposibility for the quality of my instructions or anything that goes wrong in an attempt to repeat my procedure.

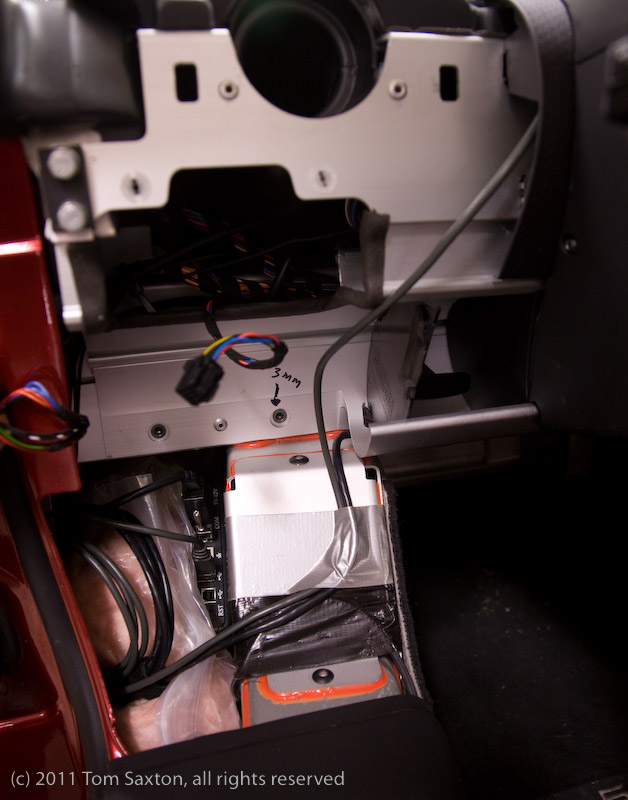
The CAN bus cable (entering in the center of the photo) runs over the footwells, just behind the tray, and enters behind the compartment through this narrow gap between the tray and the body.
The Tattler is held in place between the bag of insulation and the inner body wall with the rubber feet against the wall. The spot that gets warm on the Tattler is on the bottom, so the rubber feet allow some air circulation and the metal body should also carry heat away.
The bag of foam insulation is part of Carl Medlock's super-duper upgrade to Tesla's sound insulation package. If you don't have it, it's just a ziplock bag full of insulation. Below the bag is where the auxilary hardware devices for the upgraded (JVC) audio headunit were originally stored. (We replaced all that stuff with a self-contained Alpine unit that has a user interface designed for humans.)